|

Step
1.
Open Outlook Express and and select the "Tools"
menu. (See the red arrow above)
Then select "Accounts".
Step
2.
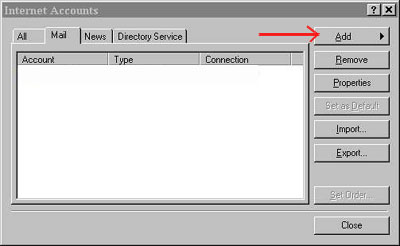
Left click on the "Mail" tab then left click on the
"Add" button & choose "Mail"
(See the red arrow).
Step
3.
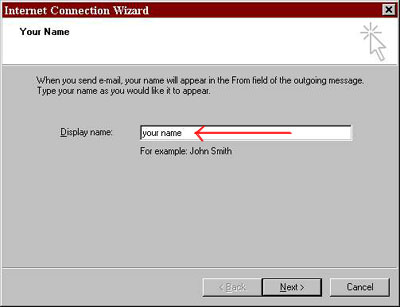
In the first screen, in the box
labeled "Display Name", enter your name (see red
arrow) then click "Next".
Step
4.
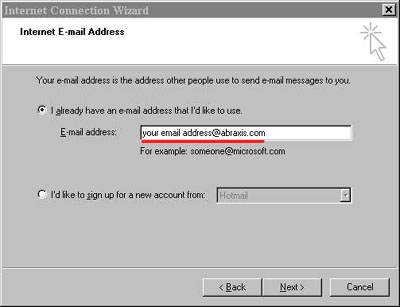
In the next screen select "I already have an e-mail address
I'd like to use. Then enter your Abraxis email address in the box
(with the red
line) then click "Next".
Step
5.
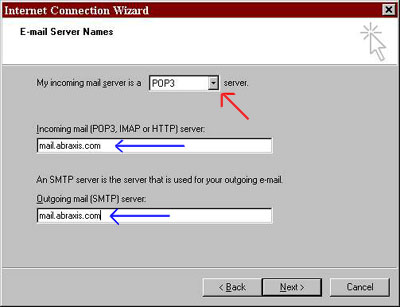
In the box labeled "My incoming mail server is a
______ server." Click on the drop box arrow & select POP3.
(see red arrow)
Step
6.
In the boxes labeled "Incoming mail server" &
"Outgoing mail server" enter
mail.abraxis.com (see blue
arrows)
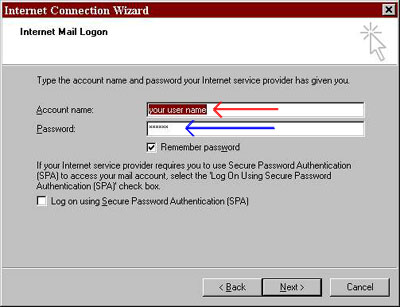
Step
7.
In the box labeled "Account
Name": enter your Abraxis user name. (see red
arrow)
Step
8.
In the box labeled Password:
enter your Abraxis password. (see blue arrow)
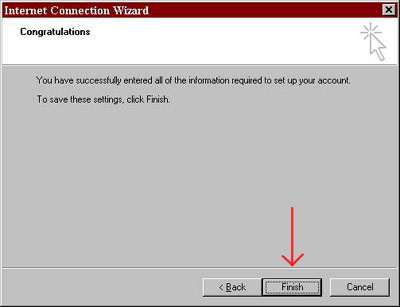
Step
9.
Now just click on the Finish button
(see red
arrow) and you are ready to check your mail.
Step
10.
Check your mail.
|